
 If your office is still hand-applying green Certified Mail forms and standing at the counter to verify each piece, the bottleneck usually is not postage - it is printing. Knowing how to print certified envelopes correctly means getting the address block, barcode, postage, and mailing records aligned before the envelope ever leaves your desk.
For legal notices, collections, compliance letters, tenant communications, and other time-sensitive documents, print quality is part of process control. A certified envelope that smears, scans poorly, or places information in the wrong area can slow acceptance and create avoidable rework. The goal is not just to get the envelope out the door. The goal is to produce a mailpiece that supports USPS handling, internal tracking, and an audit-ready record.
How to print certified envelopes without errors
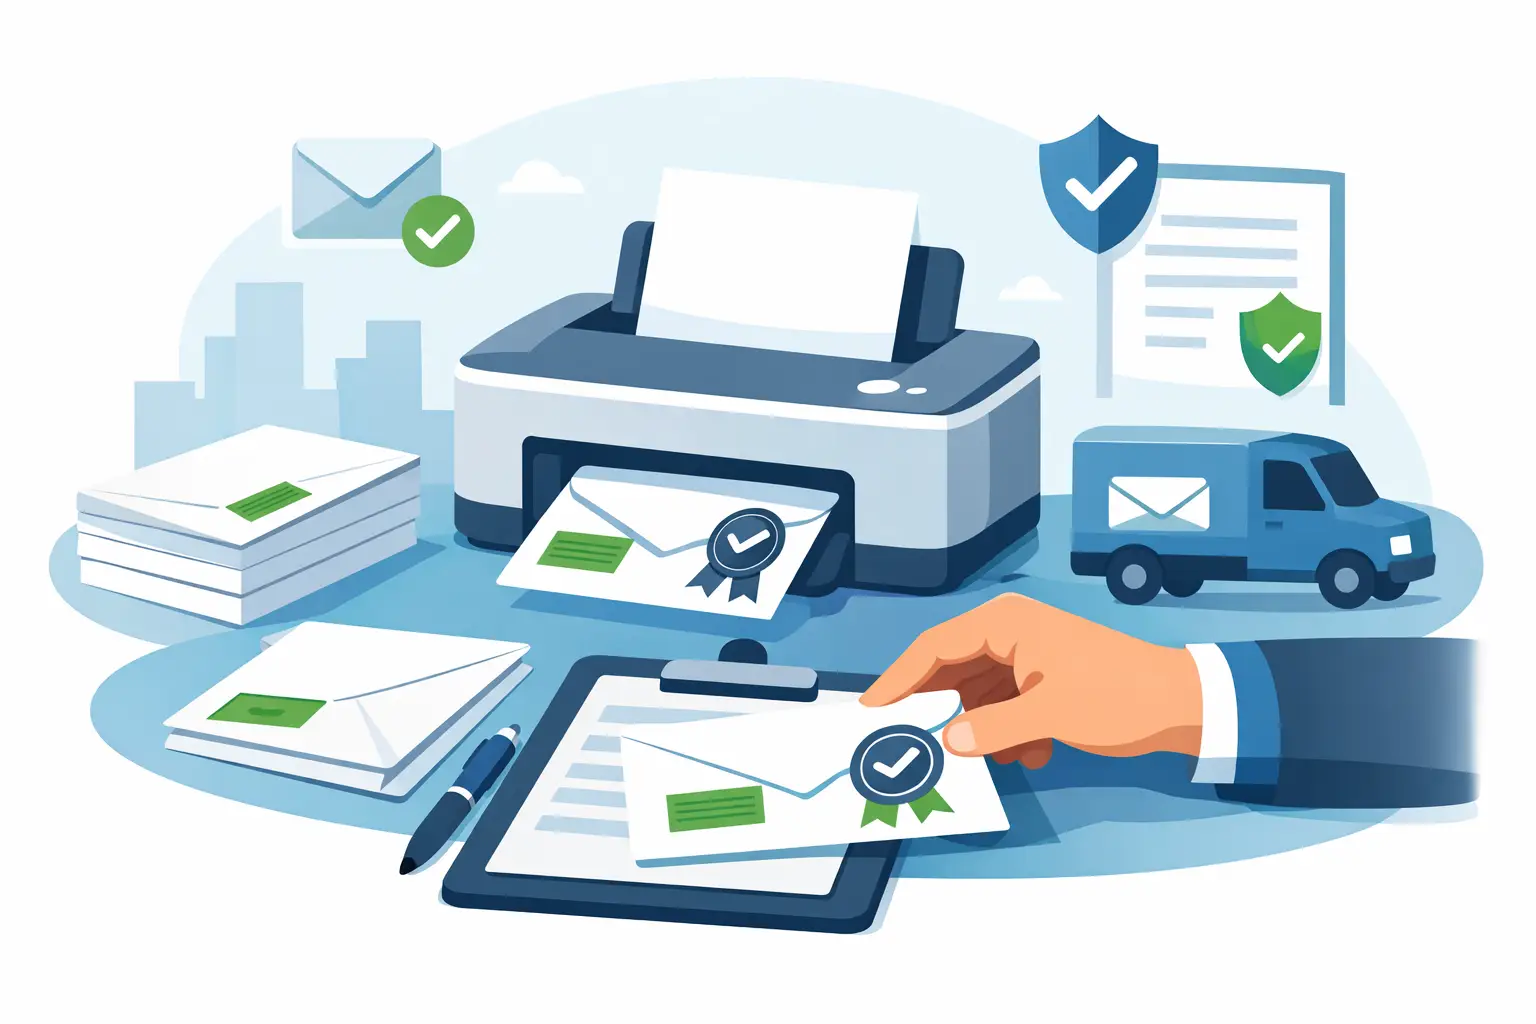
The most reliable way to print certified envelopes is to start with the envelope format you plan to use. That sounds obvious, but many mailing issues begin when teams design for a plain business envelope and then try to force Certified Mail elements into the same layout. Certified mailpieces need enough space for the delivery address, return address, USPS tracking barcode, postage indicia or meter area, and any required endorsement or internal reference.
For most offices, the practical decision comes down to two options. You can print directly onto a preformatted Certified Mail envelope, or you can print a separate Certified Mail label and place it on a compatible envelope. Both methods work. The better choice depends on your volume, printer type, and how much standardization you need across staff.
If you send Certified Mail regularly, preformatted materials usually reduce errors. They keep placement consistent and make it easier to train multiple users. If your mail volume varies or you need more flexibility across envelope sizes, labels may fit better into your workflow. The trade-off is that labels introduce one more physical application step, so placement discipline matters.
Start with the right envelope and print setup
Before you print anything, confirm the envelope size, feed direction, and printable area supported by your printer. Most desktop laser printers handle standard business envelopes reliably, but they do not all feed the same way. Some require face up placement, some face down, and many shift the image slightly depending on tray and envelope thickness.
This is why a test print matters. Print one sample using the exact envelope stock you plan to mail. Check three things: whether the address is centered and readable, whether the barcode area prints sharply, and whether the postage area sits in the correct corner with adequate clearance. If any element drifts too close to an edge, adjust the template before printing a full batch.
Laser printing is generally preferred for certified envelopes because it produces crisp barcodes and text that resist smearing. Inkjet can work, but it is less forgiving if envelopes have a textured surface or if the print head alignment is slightly off. For compliance-driven mailings, barcode clarity is not a cosmetic issue. A weak print can affect scanning and force manual intervention.
Paper stock also matters more than many offices expect. Envelopes that are too thin can wrinkle in the printer. Envelopes with heavy seams or glossy coatings can interfere with toner adhesion and barcode readability. If you print certified envelopes often, standardizing on one tested envelope type saves time and reduces inconsistencies across departments.
What needs to appear on a certified envelope
A properly printed certified envelope needs more than the recipient address. The exact format depends on how your mailing system is configured, but the core elements usually include the sender return address, recipient mailing address, Certified Mail tracking barcode, postage or postage indication, and any optional service markings tied to your process.
The recipient address should be easy to read and positioned where USPS equipment can process it without obstruction. Avoid crowding that area with internal routing notes, logos, or oversized fonts. The barcode should print cleanly with no streaking, clipping, or overlap. If your process includes an Electronic Return Receipt or delivery confirmation record, the printed piece should still align with the digital tracking and reporting record attached to that mailpiece.
This is where online Certified Mail systems provide a measurable operational advantage. Instead of manually combining forms, stickers, and postage, the mailing data is generated as one coordinated output. That reduces the chance of a mismatch between the envelope, the tracking number, and the mailing report you may need later.
Printing from a template vs. printing from a mailing platform
Some organizations try to build their own certified envelope template in Word or a PDF editor. This can work for very low volume, especially if one trained employee handles every mailing. But the risk is consistency. A homegrown template often depends on manual edits, manual barcode handling, and local printer settings that are difficult to control across multiple users.
A dedicated mailing platform is better suited for recurring Certified Mail because it standardizes output and ties the printed envelope to the mailing record. That is especially useful when multiple team members prepare mail or when management needs acceptance reports, delivery status, and long-term record retention.
If your office sends occasional certified letters, a manual process may seem cheaper. In practice, the hidden cost is staff time, reprints, post office trips, and fragmented records. If you send certified notices every week, even a modest volume can justify moving to a print workflow that combines label creation, postage, and tracking documentation in one process.
Common printing problems and how to avoid them
Most issues fall into a few predictable categories. The first is alignment drift. This happens when the printer pulls envelopes inconsistently or when the template margin is too tight. Fix it by widening the safe print area and testing from the same tray you will use for production.
The second issue is barcode quality. If the barcode looks light, broken, or fuzzy, stop and correct it before mailing. Replace low toner, clean the printer path if needed, and verify that your print settings are not reducing image quality. Draft mode is a bad choice for certified envelopes.
The third issue is mixing envelope inventory. If one staff member loads a slightly different envelope size or stock, the layout can shift enough to affect readability. Standard operating procedure helps here. Use one approved envelope type and one saved print setting for certified mailpieces.
The fourth issue is record mismatch. This is more serious than a crooked address. If the printed tracking number does not match the stored mailing record, your proof trail weakens immediately. For legal and regulated mailings, that creates unnecessary exposure. Printing from a controlled system instead of separate files reduces that risk.
How to print certified envelopes at higher volume
Once volume increases, envelope printing becomes less about individual mailpieces and more about workflow. Batch processing matters. So do acceptance documentation, user permissions, and a reliable way to reconcile what was printed against what was actually mailed.
For a law office or property management team sending several notices at once, the efficient approach is to prepare addresses in batch, generate the certified pieces together, print in sequence, and retain a mailing manifest or acceptance record for the entire run. That structure reduces duplicate handling and gives administrators a clean audit trail.
High-volume users also need to think about exceptions. What happens if one envelope jams halfway through a batch? What happens if a recipient address is corrected after labels are generated? A good process accounts for voids, reprints, and replacement tracking numbers without breaking the record chain.
This is where purpose-built tools become more valuable than generic office software. Certified Mail Labels supports online preparation of USPS Certified Mail materials, including printing, acceptance documentation, tracking, and long-term record storage. For teams that need repeatable compliance workflows, that kind of structure is often more useful than a basic print template.
Keep the mailing record tied to the printed piece
Printing is only half the task. The real value of Certified Mail is the ability to show what was mailed, when it was accepted, and whether it was delivered. If your process ends at the printer, you are still leaving work unfinished.
Each certified envelope should connect to a stored record that includes the tracking number, mail date, recipient information, and delivery outcome. For some organizations, that is simply good administration. For others, it is essential evidence. A housing notice, tax communication, legal demand, or compliance letter may need to be retrieved months or years later.
That is why the best answer to how to print certified envelopes is not just about envelope orientation or toner density. It is about creating a process where printing, mailing, acceptance, and record retention all support the same chain of custody.
If your current method requires too many manual steps, the fix is usually not to print faster. It is to print from a process designed to hold up when someone asks for proof later.