
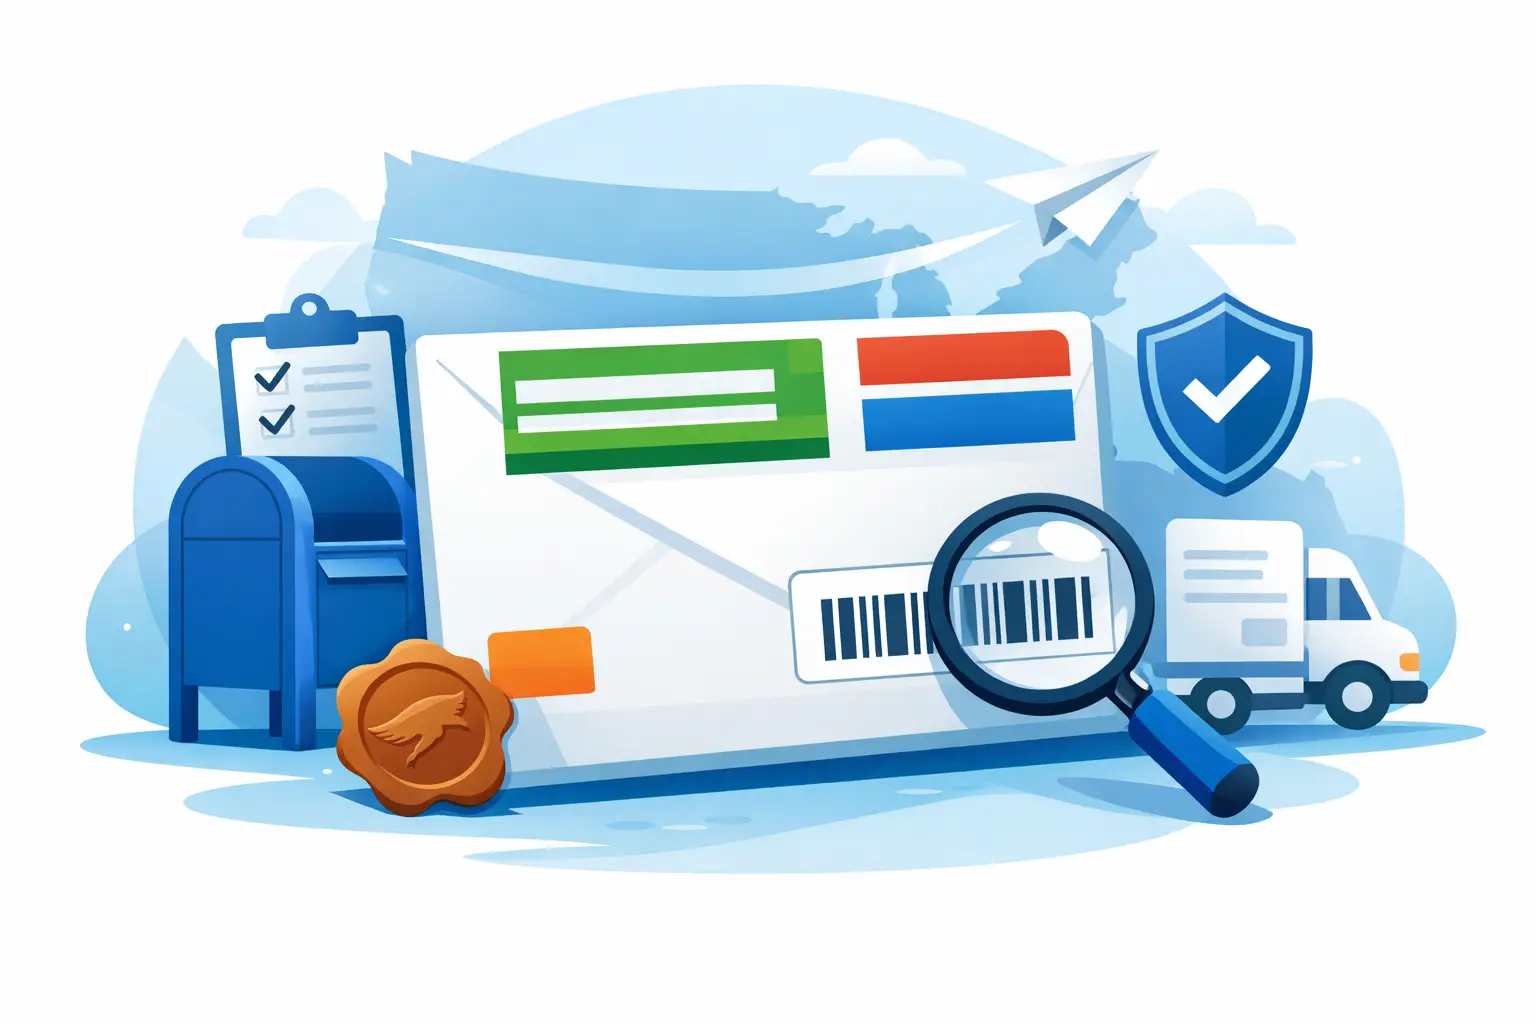
 USPS Certified Mail Envelope Explained: Sizes, Windows, Labels & Mailing Rules
Last reviewed: September 24, 2026
A Certified Mail envelope is more than packaging. The envelope has to support a readable delivery address, a scannable Certified Mail barcode, correct postage, USPS service markings, and a mailing record that can still be understood later.
The good news is that you do not always need a special envelope to send Certified Mail.
Depending on how you prepare the mailing, you can use:
- A purpose-built Certified Mail window envelope
- A standard #10 envelope with a Certified Mail label
- A standard envelope with USPS Certified Mail markings applied correctly
The right choice depends on how often you send Certified Mail, how your labels are printed, whether you use a window envelope, and how much manual preparation your staff can reliably manage.
This guide explains the main Certified Mail envelope options, USPS window-envelope rules, green Certified Mail markings, label placement, common preparation mistakes, and how to choose a setup that supports both USPS processing and your internal records.
Quick Answer: Do You Need a Special Envelope for Certified Mail?
No. USPS Certified Mail can be prepared using a standard compatible envelope as long as the Certified Mail service, barcode, postage, address, and required markings are applied correctly.
However, a purpose-built Certified Mail envelope can make preparation faster and more consistent because the window, green Certified Mail markings, and label format are designed around the service.
| Envelope Option | Best For | Main Advantage |
|---|---|---|
| Certified Mail window envelope | Recurring or higher-volume Certified Mail | Designed to display the label, barcode, postage, and address consistently |
| Standard #10 envelope + Certified Mail label | Occasional or lower-volume mailings | Uses common office envelope stock |
| Standard envelope + green Certified Mail label/markings | Offices that want flexible envelope stock | Can work without dedicated envelope inventory when prepared correctly |
The envelope itself does not create Certified Mail service. The USPS service comes from the properly prepared Certified Mail label, tracking barcode, postage, and associated mailing record.
What Is a USPS Certified Mail Envelope?
A Certified Mail envelope is an envelope prepared to carry a mailpiece with USPS Certified Mail service.
In a traditional manual process, the sender may use a standard envelope and apply the familiar green Certified Mail form and barcode separately.
In an online workflow, the Certified Mail barcode, postage, recipient address, return address, and service information can be generated together and printed as part of one label or mailpiece insert.
A purpose-built Certified Mail envelope is designed around that printed format so the information appears in the correct area and remains visible during USPS processing.
That can reduce:
- Handwritten forms
- Manual sticker placement
- Barcode alignment problems
- Address-window mistakes
- Disconnected tracking records
- Preparation differences between employees
What Is the Green Certified Mail Banner?
Certified Mail is visually identified with green Certified Mail markings.
Certified Mail Labels offers envelope and label options designed to display the green Certified Mail banner used to identify the piece during USPS handling.
When using the Certified Mail Labels purpose-built envelope, the green markings are already printed on the envelope and the full-face window displays the label information underneath.
If you use a plain envelope instead, make sure the Certified Mail markings supplied with your chosen label format are applied or printed as required.
Do Not Cover the Green Certified Mail Markings
The Certified Mail identification should remain visible and should not be obscured by tape, another label, an envelope flap, or other printed material.
Can You Use a Window Envelope for Certified Mail?
Yes. Window envelopes can work well for Certified Mail when the address, barcode, and service information remain completely visible.
USPS window-envelope standards require the delivery address and any postal barcode visible through the window to remain completely visible throughout the full range of movement of the insert inside the envelope.
USPS also requires clear space around the address block so the information is not crowded against the window edges.
For a Certified Mail workflow, this means the insert should not shift enough to:
- Hide part of the recipient address
- Cover part of the Certified Mail barcode
- Push the barcode behind an opaque envelope edge
- Move the postage or service information out of view
A purpose-built window envelope helps reduce this risk because the window is designed around the printed Certified Mail label format.
USPS Window Envelope Rules That Matter
USPS requires the information visible through a window envelope to remain readable throughout normal movement of the insert.
Key standards include:
- The complete delivery address must remain visible
- Any postal barcode visible through the window must remain fully visible
- The address should appear on white or very light-colored material
- There should generally be at least 1/8 inch of clear space between the address block and the window edges
- Window material should be clear enough for USPS equipment to read the address and barcode
For recurring mailings, test a completed sample before running a full batch. Move the insert up, down, left, and right inside the envelope and confirm that all essential information remains visible.
Can You Use a Regular #10 Envelope for Certified Mail?
Yes. A standard #10 envelope can be used when the Certified Mail label and required markings are applied correctly.
Certified Mail Labels supports workflows where the label is printed and affixed to a plain #10 letter-size envelope.
A regular envelope can be a good choice when:
- You send Certified Mail only occasionally
- You already stock standard #10 envelopes
- You do not want separate Certified Mail envelope inventory
- Your staff can consistently place the label correctly
The main trade-off is manual placement.
If several employees prepare mail, label position and barcode clearance can vary from piece to piece unless the office uses a standardized template or procedure.
Which Certified Mail Envelope Should You Choose?
| Your Mailing Situation | Recommended Setup |
|---|---|
| One or two Certified Mail letters occasionally | Standard #10 envelope with correctly prepared Certified Mail label |
| Certified Mail sent every week | Purpose-built Certified Mail window envelope |
| Multiple employees prepare Certified Mail | Standardized window-envelope workflow |
| Large batch mailings | Window envelopes plus Excel/CSV label processing |
| Remote or distributed staff | Online label creation or full-service print and mail |
| You want to minimize manual label placement | Purpose-built window envelope |
Where Should the Certified Mail Label Go?
The Certified Mail label should be positioned so the tracking barcode and mailing information remain clear, flat, and unobstructed.
Avoid placing the barcode:
- Over an envelope seam
- Across a fold
- Too close to the edge
- Under tape
- Under another label
- Where the envelope flap will cover it
The recipient address, return address, postage, and tracking barcode should all be readable without forcing USPS equipment or employees to interpret overlapping information.
When using a Certified Mail Labels window envelope, place the printed label sheet in front of the letter so the required information aligns with and remains visible through the window.
How to Prepare a Certified Mail Envelope: Step by Step
Step 1: Confirm the Recipient Address
Check the recipient name, street address or PO Box, apartment or suite number, city, state, and ZIP Code.
For legal or compliance mail, use the address source required by the applicable law, contract, agency, court, or internal procedure.
Step 2: Save the Final Document
Keep the exact version of the letter or notice being mailed.
Certified Mail tracks the envelope. It does not independently document what was inside it.
Step 3: Create the Certified Mail Label
Create the label online and select the appropriate USPS services.
Depending on the mailing, this may include:
- Certified Mail
- Return Receipt Electronic
- Paper Return Receipt
- Restricted Delivery
Step 4: Print the Label Correctly
Certified Mail Labels supports printing the Certified Mail document on standard 8.5-by-11-inch white paper.
If your label format includes the green Certified Mail banner, use a color printer so the green markings remain visible.
Step 5: Choose the Envelope Setup
Use either:
- A compatible Certified Mail window envelope
- A standard #10 envelope with the label attached correctly
If you use a window envelope, make sure the insert cannot shift enough to hide the address or barcode.
Step 6: Check the Barcode
Before sealing the envelope, inspect the tracking barcode.
It should be:
- Sharp
- Fully printed
- Flat
- Uncovered
- Not folded
- Not blurred or distorted
Step 7: Confirm the Postage
Certified Mail includes an extra USPS service fee in addition to the underlying postage.
Envelope weight, shape, mail class, and additional services such as Return Receipt can change the total postage.
For current pricing, review the Certified Mail rates page.
Step 8: Seal the Envelope Securely
Make sure the contents do not shift excessively and the envelope is sealed well enough to withstand normal USPS processing.
Step 9: Get the Mailpiece Into the USPS Mailstream
Creating a label and USPS accepting the physical mailpiece are separate events.
For important or deadline-sensitive correspondence, preserve the appropriate USPS acceptance evidence for your mailing workflow.
Why USPS Acceptance Still Matters After the Envelope Is Prepared
A perfectly prepared envelope is only one part of the mailing record.
Once the envelope is complete, the next question is when USPS records possession of the physical mailpiece.
For a documented Certified Mail workflow, retain:
- The final letter
- The recipient address
- The Certified Mail tracking number
- The USPS service selected
- Acceptance information
- Tracking history
- Delivery or attempted-delivery information
- Return Receipt when purchased
The envelope helps the piece move correctly. The postal and internal records help establish what happened afterward.
Does a Certified Mail Envelope Need a Green Return Receipt Card?
No.
The traditional green Return Receipt card is an optional USPS extra service and is separate from Certified Mail itself.
If you need a Return Receipt, you may be able to choose:
- Paper Return Receipt
- Return Receipt Electronic
Return Receipt Electronic provides the USPS delivery record digitally and can include available recipient signature information.
For organizations maintaining digital case files, electronic records can reduce the need to receive, scan, and manually store paper cards.
Learn more about Return Receipt Electronic.
Common Certified Mail Envelope Mistakes
1. Covering Part of the Barcode
Tape, labels, folds, and window edges can interfere with barcode readability.
2. Allowing the Insert to Shift Inside a Window Envelope
The address and barcode should remain visible throughout normal movement of the insert.
3. Printing Green Certified Mail Markings in Black and White
If the selected label format relies on printed green Certified Mail markings, use color printing so those markings remain visible.
4. Using the Wrong Envelope Size
A label designed for a #10 envelope may not fit correctly on another envelope format.
5. Folding the Barcode Around an Edge
Keep the tracking barcode flat on the face of the mailpiece.
6. Separating the Tracking Number From the Internal Record
The best-prepared envelope still creates extra work later if no one can determine which case, account, tenant, claim, or notice the tracking number belongs to.
7. Assuming the Envelope Alone Creates Proof of Mailing
Envelope preparation, USPS acceptance, tracking, and record retention are separate parts of the workflow.
Certified Mail Envelopes for Batch Mailings
Envelope consistency becomes more important as mailing volume increases.
A single employee may be able to manually align five labels without much difficulty. Repeating that process across 500 or 5,000 letters creates more opportunities for:
- Misaligned inserts
- Mismatched tracking numbers
- Wrong envelopes
- Barcode damage
- Duplicate recipients
- Incorrect document insertion
Certified Mail Labels supports Excel and CSV processing so mailing data can be generated in batches rather than typed one address at a time.
A standardized window-envelope setup can then make physical production more consistent.
Preparing Certified Mail in Batches?
Use Excel or CSV processing to create multiple Certified Mail labels and keep recipient, reference, and tracking information connected.
Use a USPS SCAN Form for Eligible Batch Mailings
Once a batch of Certified Mail envelopes is prepared, USPS acceptance can become another bottleneck.
For eligible workflows, a USPS Shipment Confirmation Acceptance Notice, or SCAN Form, groups associated mailpieces under one master barcode.
USPS can scan the form during acceptance rather than requiring each eligible piece to be handled individually at the counter.
This can help mailrooms maintain a more efficient handoff while preserving the connection between each tracking number and the batch.
Learn more about USPS SCAN Forms.
When a Dedicated Certified Mail Envelope Is Worth It
A dedicated Certified Mail envelope is most valuable when your team sends enough volume that consistency matters more than saving a small amount on envelope stock.
Consider a purpose-built envelope when:
- Multiple people prepare Certified Mail
- Your office sends Certified Mail every week
- You process recurring legal or compliance notices
- You use batch labels
- You want the barcode, postage, and address displayed through one window
- You want to reduce manual label placement
Need Certified Mail Envelopes?
Use envelope stock designed to work with the Certified Mail Labels printing format and green Certified Mail markings.
Sending One Certified Mail Letter?
You do not need to build a mailroom workflow for a single letter.
Create the Certified Mail label online, choose the appropriate USPS services, print it, and prepare the envelope using a compatible window envelope or standard #10 envelope.
Create Your Certified Mail Label Online
Prepare the label from your home or office without handwriting traditional Certified Mail forms.
Do Not Want to Print, Fold and Stuff the Envelope Yourself?
For organizations that want to avoid physical mail preparation entirely, Send Certified Mail provides a full-service print-and-mail option.
Uploaded documents can be printed, inserted into envelopes, prepared with the selected postage and tracking, and entered into the USPS mailstream.
This can be useful for:
- Remote legal teams
- Property managers
- Government departments
- Collections teams
- Insurance and healthcare offices
- Organizations without a dedicated mailroom
Explore Full-Service Print & Mail
Frequently Asked Questions About Certified Mail Envelopes
Do I need a special envelope for Certified Mail?
No. Certified Mail can be prepared using a compatible standard envelope as long as the Certified Mail label, barcode, postage, address, and required markings are applied correctly. A purpose-built envelope can reduce manual preparation and alignment problems.
Can I use a regular #10 envelope for Certified Mail?
Yes. A standard #10 letter-size envelope can be used with a correctly prepared Certified Mail label.
Can I use a window envelope for Certified Mail?
Yes. The complete delivery address and barcode must remain visible through the window throughout the full range of movement of the insert.
What is the green stripe on a Certified Mail envelope?
The green Certified Mail markings visually identify the mailpiece as Certified Mail. Purpose-built Certified Mail Labels envelopes include the green Certified Mail markings on the envelope.
Where does the Certified Mail barcode go?
The barcode should remain flat, clear, readable, and unobstructed on the face of the mailpiece. Do not fold it around an edge or cover it with tape, another label, or the envelope flap.
Can the Certified Mail barcode show through a window envelope?
Yes, provided the barcode remains completely visible and meets applicable USPS window and barcode-clearance standards.
Does the address have to stay visible in a window envelope?
Yes. USPS requires the full delivery address to remain visible even when the insert shifts to its normal limits inside the envelope.
Do I need a green Return Receipt card on every Certified Mail envelope?
No. Return Receipt is an optional extra service unless a law, court rule, contract, or procedure specifically requires it. Return Receipt Electronic may be used when the applicable requirements allow it.
Can I print a Certified Mail label from home or the office?
Yes. Certified Mail Labels allows users to create and print USPS Certified Mail labels online.
Can I prepare hundreds of Certified Mail envelopes at once?
Yes. Certified Mail Labels supports Excel and CSV batch processing for larger mailing lists, along with USPS SCAN Forms for eligible acceptance workflows.
What envelope is best for high-volume Certified Mail?
A standardized window envelope designed around the printed Certified Mail label format can reduce manual placement errors and make production more consistent.
Can Certified Mail Labels print and mail the envelope for me?
Full-service print and mail is available through Send Certified Mail, the sister platform to Certified Mail Labels, for organizations that do not want to handle printing, inserting, postage preparation, and USPS handoff themselves.
The Best Certified Mail Envelope Is the One That Supports the Whole Workflow
There is no single envelope that every Certified Mail sender must use.
For occasional mailings, a standard #10 envelope with a properly prepared label may be perfectly practical.
For recurring legal, compliance, property-management, government, collections, insurance, or business mail, a purpose-built Certified Mail window envelope can reduce manual steps and make preparation more consistent.
The envelope is only one part of the process. The strongest workflow also keeps the final document, recipient information, tracking number, USPS acceptance, delivery history, Return Receipt when needed, and long-term mailing record connected.
Certified Mail Labels helps senders create USPS Certified Mail labels online, order compatible Certified Mail envelopes, process batches, generate SCAN Forms, monitor tracking, retrieve electronic delivery records, and maintain searchable mailing history.
Create your next Certified Mail label, order compatible envelopes, or schedule a Live Demo with a member of our Customer Support Team today to review your mailing workflow.
Create a Certified Mail Label Order Certified Mail Envelopes Schedule a Live Demo
USPS and Certified Mail Resources
- USPS Domestic Mail Manual — Mailing Standards
- USPS Publication 25 — Window Envelope Standards
- Certified Mail Labels — Certified Mail Green Banner Requirements
- Certified Mail Labels — Certified Mail Envelopes
- Certified Mail Labels — Excel Batch Labels
- Certified Mail Labels — Return Receipt Electronic